Without raw materials there is no manufacture, and without manufacture there is no shoe …
These pairs that we often buy to have fun, for a special occasion, or simply on a crush …
But then are you ever interested in how are these wonders worn on our feet made?
How to choose your raw material?
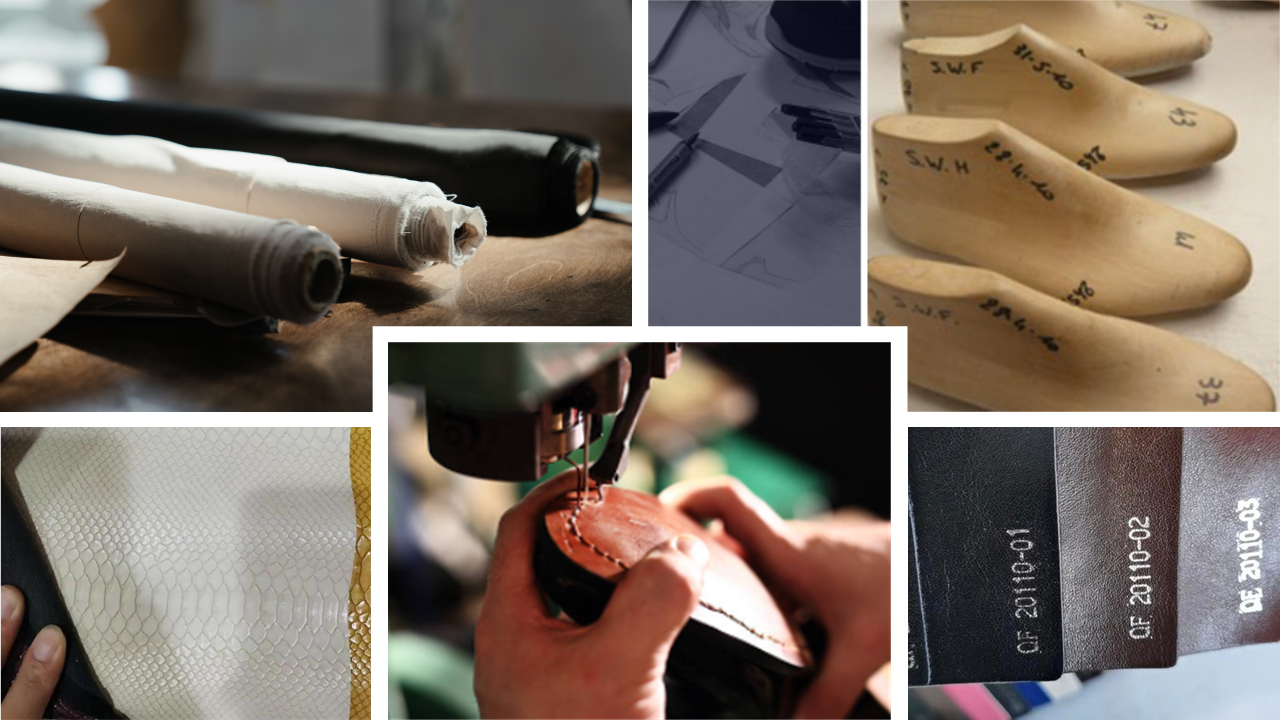
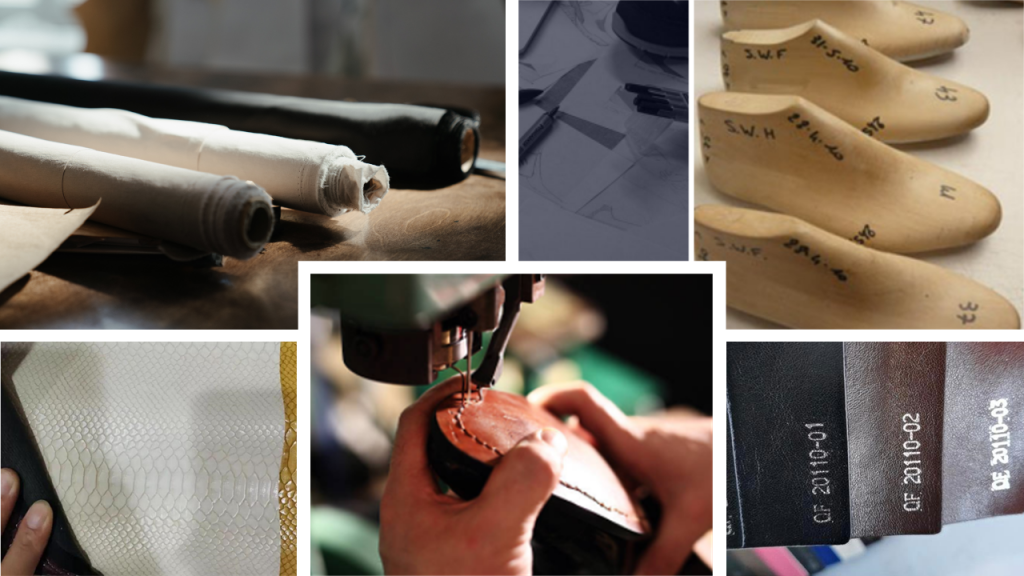
First of all, let’s talk about the choice of raw materials: the choice of raw materials is a fairly important step that should not be neglected. It all depends on your criteria, your models, the goal of the pair, and your principles …
If we take the example of sports shoes, we find mainly synthetic materials: the sole exterior is often in rubber or carbon, which aims to comfort, but above all to allow to practice a sporting activity.
While the essential of the male wardrobe “the city shoe” we can find: leather or imitation leather, split leather, suede, or even oily leather which makes it more resistant and supple, which has: purpose of wearing it on special occasions and which has a waterproof feature.
You should know that a shoe is a solid good. It is necessary in everyday life, even if it is a rather “luxurious” item in the fashion world. Whatever the raw material used, this good has such a durability over time, that we can see it from the first wear only a few years later.
But then why do you think?
Quite simply thanks to the expertise of the manufacturing stages.
You should know that on a pair of shoes there are several stages & assemblies and even there are several raw materials depending on the parts worked.
It requires real know-how, and good technique!
Step 1 : We draw the model
The designer / stylist / creator takes care of the vision and imagination of the shoe model and puts his idea on sketch.
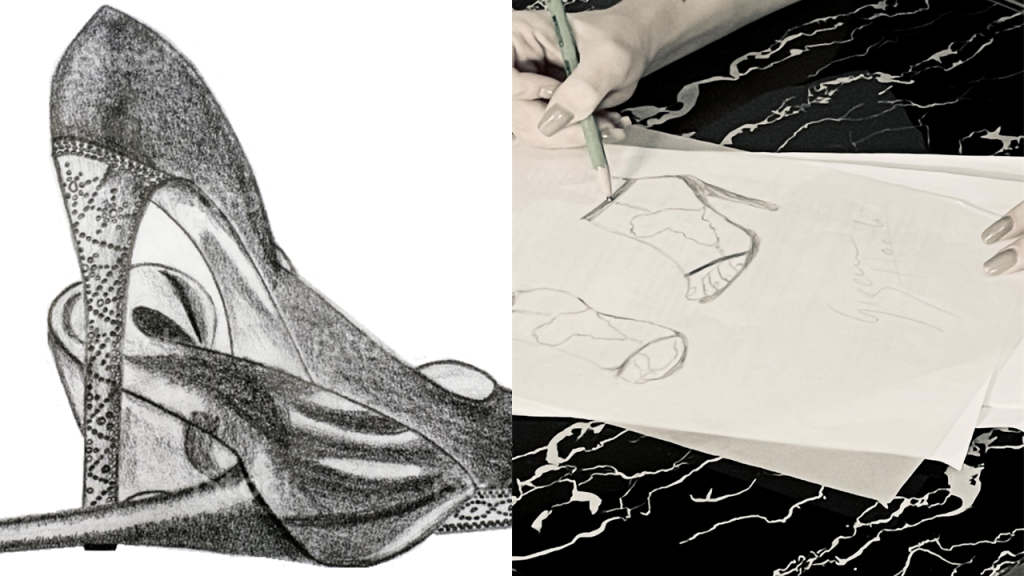
We can already have a first idea in the choice of raw materials that will be used beforehand.
2nd step : We put in “shape” the drawing
The former will sculpt, carry out the formatting according to the sketches entrusted to him.
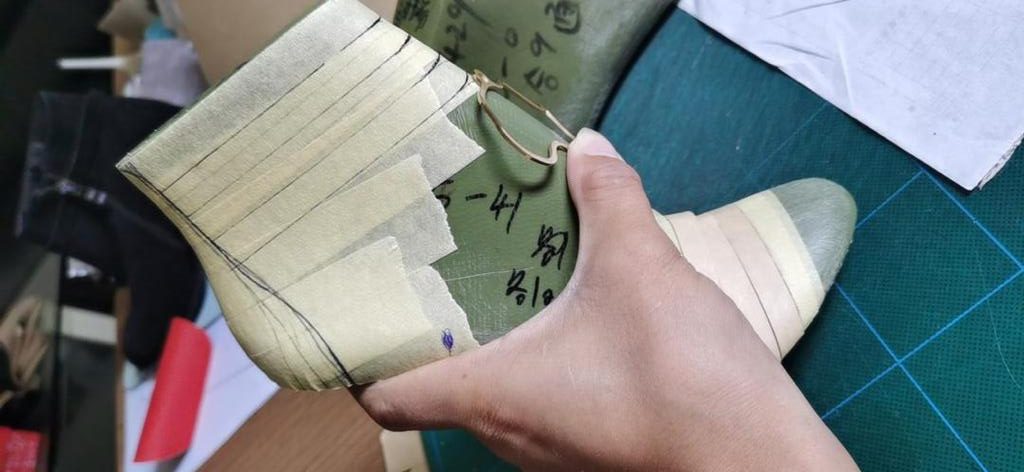
He will think about and work on this “shape” for a final rendering that is as comfortable as possible according to each model.
Step 3: Patronage
We put everything flat, to put the drawing on form…. This step which allows the representation of the model for an overview: front and / or back. Usually made from sheets of paper or fabric with good hold, which allow the shoe to be designed before manufacture.
At this stage, the pattern maker will therefore define all the useful information such as: seams, perforations, etc.
Step 4: The cutting
At this stage, we recover the raw materials to cut the different parts of the pattern. The cuts are generally made with a laser, a water jet or a cookie cutter, or formerly by hand with a slicer or a suitable cutter.
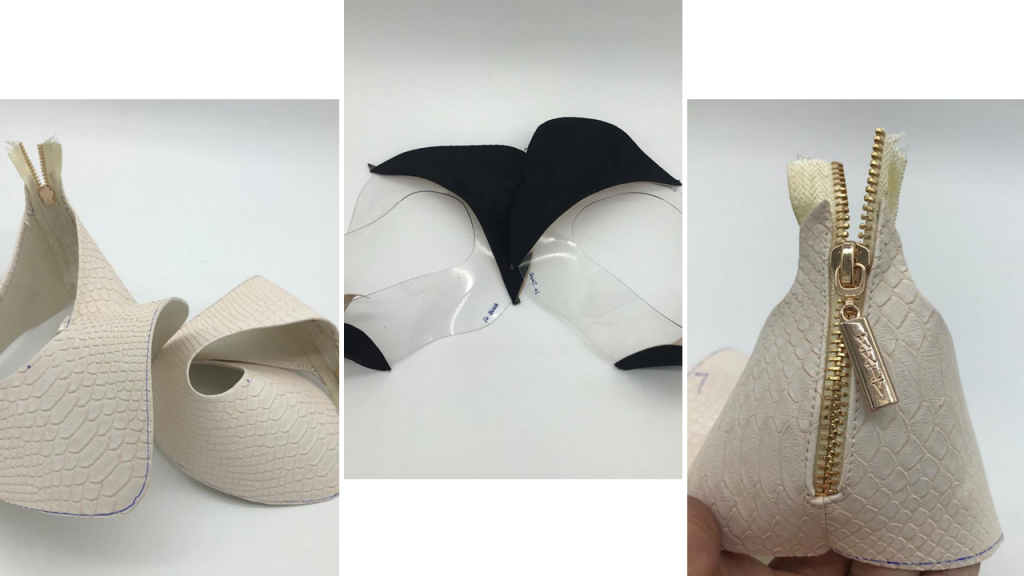
Step 5: Stitching and assembly
The different cut parts will be assembled to form the top of the shoe, this is called: “stitching”, which consists of passing one or more thread (s) in order to assemble separate parts. The different parts of the shoe will be sewed together, and the shoe therefore begins to take shape at this stage.
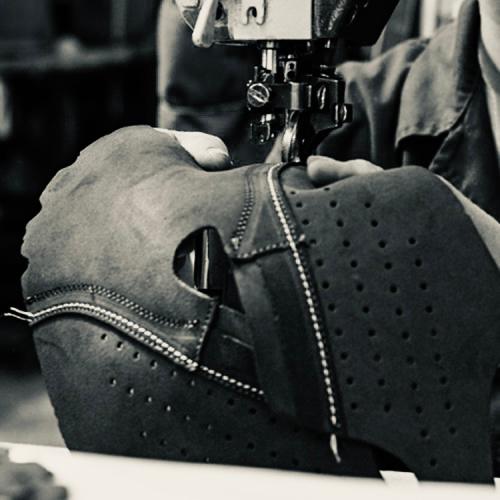
Step 6: Mounting
Mounting generally refers to the process by which the upper part is attached to the sole by a rod.
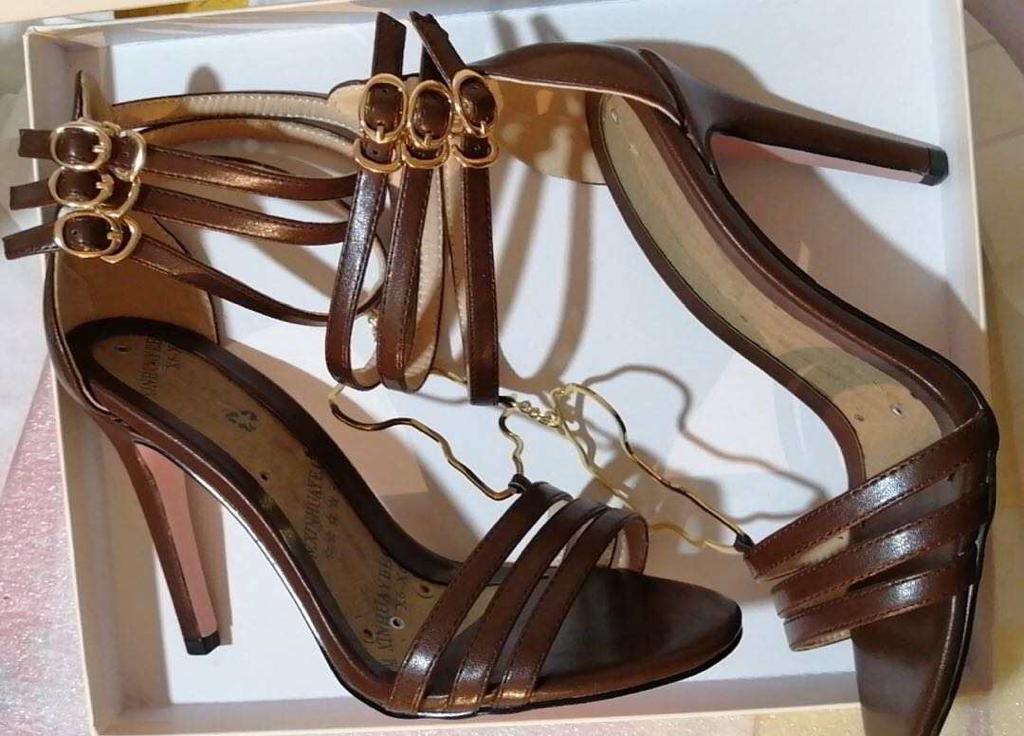
Step 7: The sole assembly & finishes
So we end up gluing and stitching the soles: outer & inner, to finish the small details that are very important: burning the threads that protrude, lacing, waxing, boxing …
